
Building your first AI project: start tiny, learn fast
There’s so much noise around AI that it’s easy to stall before you start.
There’s so much noise around AI that it’s easy to stall before you start. You don’t need a GPU farm, a PhD, or a 200-page roadmap. You need a question your project can answer and the smallest possible path to a working first draft.
Use this compass: one task, one user, one metric, one week.
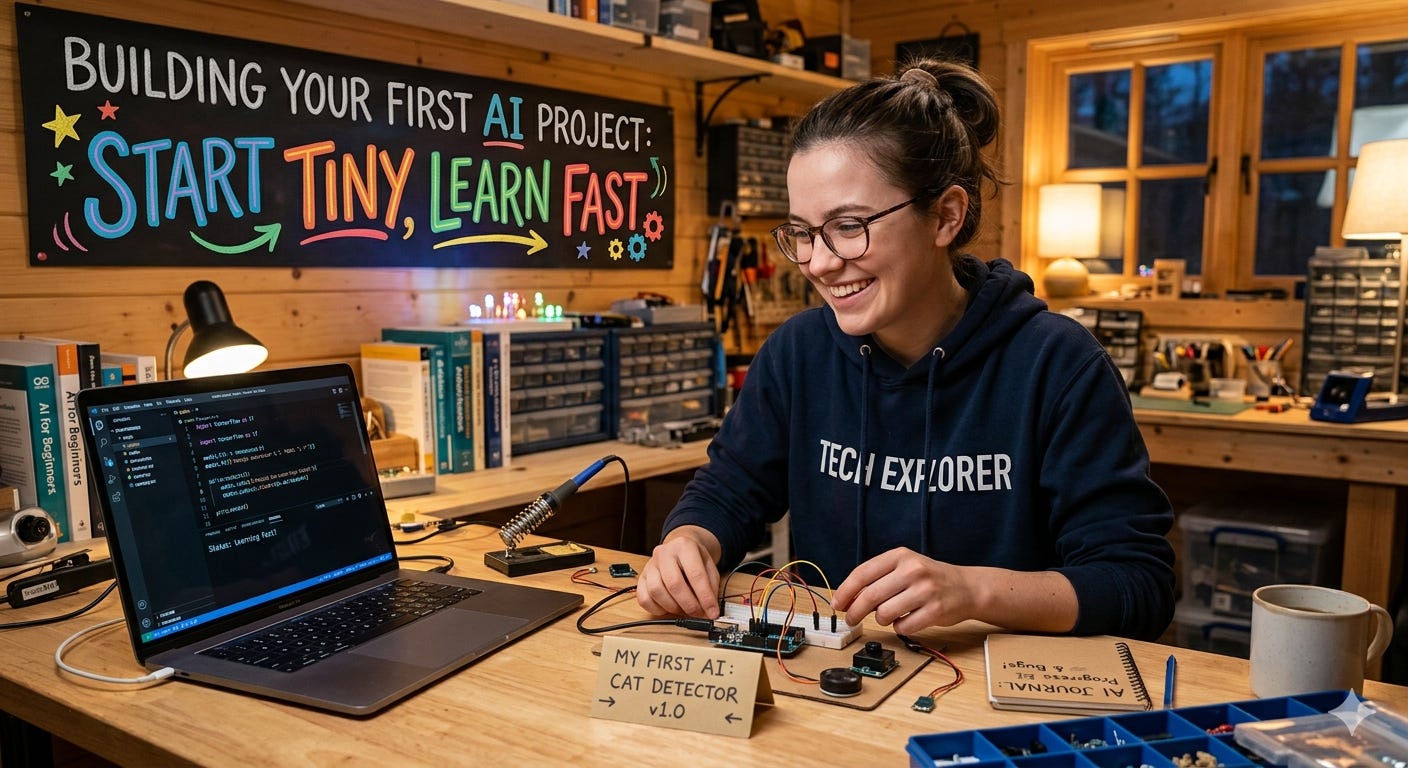
Step 1: Pick a real, tiny problem
Choose something that annoys you or your team daily. Examples:
Sort incoming emails into “Urgent,” “Follow up,” “Ignore”
Turn meeting notes into bullet-point summaries
Flag duplicate support tickets
If you can’t finish a draft in a week, it’s too big. Shrink it.
Step 2: Write the success sentence
Define done in one line: “The system correctly tags 80% of emails into 3 folders.”
This becomes your metric and your shield against scope creep.
Step 3: Start without AI (yes, really)
Build a trivial baseline:
Rules: if subject has “invoice,” tag as Finance
Heuristic: anything older than 48 hours is “Follow up”
Measure it. If a simple rule gets you 60%, you know what “better” means.
Step 4: Collect a tiny dataset
50–100 examples are enough for a first loop.
Label them yourself or with one colleague. Make it consistent.
Store in a simple CSV with columns like text, label, notes.
Step 5: Make a scrappy first model Pick the lowest-friction path:
Text tasks: try a hosted LLM with a clear prompt, or a scikit-learn logistic regression on TF-IDF features.
Image tasks: use a small pretrained model and fine-tune a last layer.
Don’t over-optimize. Get something that runs end-to-end.
Step 6: Measure one number
Use a single, honest metric aligned with your success sentence:
Classification: accuracy or F1
Generation: a simple human-rated score (1–5) on 20 samples
Track the baseline vs. your model. If it’s not better, find out why before changing tools.
Step 7: Do error analysis, not random tweaks
Look at 20 mistakes and categorize them:
Missing context?
Ambiguous label?
Data imbalance?
Prompt confusion?
Fix the top category, not the whole world. Add 20 targeted examples, refine the prompt, or adjust labels. Rerun.
Step 8: Put it in front of one user
Wrap it in the simplest UI you can ship:
Notebook demo or a tiny Streamlit app
A Slack bot responding to one command
Watch someone use it. Note where it breaks. That feedback is gold.
Step 9: Only then think about tooling
Keep it boring until it hurts:
Colab or a local notebook
CSV/JSON for data
Git for versioning
A README with how to run it
When pain appears (slow inference, messy data), address that one pain. Don’t preemptively build infrastructure.
A one-week starter plan
Day 1: Problem + success sentence + rule-based baseline
Day 2: Collect and label 50 examples
Day 3: First model or prompt; measure vs. baseline
Day 4: Error analysis; add targeted data; iterate
Day 5: Ship a tiny UI to one user; gather feedback
Day 6: Tackle the top failure mode; re-measure
Day 7: Write what worked, what didn’t, and the next smallest step
Principles that keep you moving
Touch the data early. Don’t research for more than 90 minutes before you build.
Fewer knobs, more loops. Iterate with small, controlled changes.
Document as you go. One page: versions, metric history, decisions.
Be ethical by default. Don’t use sensitive data without consent; strip PII.
Minimal starter stack
Notebooks: Google Colab or Jupyter
Models: scikit-learn, Hugging Face pipelines, or a hosted LLM API
UI: Streamlit or a simple FastAPI endpoint
Storage: CSV/JSON; keep samples small and labeled
If you’re feeling overwhelmed, you’re probably trying to solve three problems at once. Cut until there’s only one. Ship something humble. Measure it. Learn. That’s how real AI projects start—and how they get good.